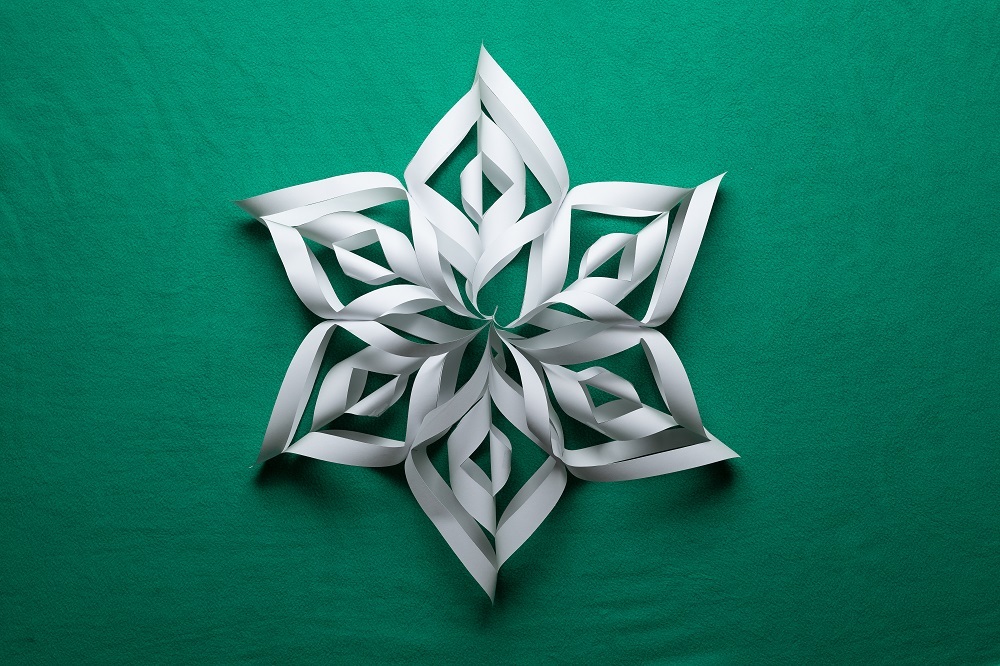
Celebrate snow on the slope with a hanging snowflake!
You’ll need:
- Six pieces of paper cut into 8×8” squares
- ♻ Go green! Use recycled paper, FSC certified paper, or upcycle newspaper, wrapping paper, or brown paper bags for a unique look!
- An Exacto knife (or another way to cut your paper)
- Clear tape
- A stapler
- String for hanging
How to make your snowflake:
- If you haven’t cut your paper into squares yet, cut six 8×8” squares now.
- Download our PDF template to use as a cutting guide to cut your snowflakes. Cut all six pieces of paper where indicated using your Exacto knife or the cutting method of your choice. You should be making six cuts total on each piece of paper.

- Once all six pieces of paper have been cut, you’re ready to shape your snowflakes. You will see that your cuts have created four concentric squares on each piece of paper. Begin with the innermost square. Take the cut points of your square (they should be diagonal from each other) and bend them towards each other into a cannoli shape. Secure with a piece of clear tape.
- Flip your paper over. Repeat this process with the second-innermost square. You should have a second cannoli shape formed opposite your smaller cannoli.

- Flip your paper over again and repeat. Repeat this entire process once more until all four squares are shaped and secured. You have just finished one segment of your snowflake!

- Repeat this entire process with the other five segments of your snowflake. Once you have all six segments shaped and secured, you’re ready to make your snowflake.

- To assemble your snowflake, gather your segments by one point and staple to secure all six segments to one another. You will see that your segments fan out into a snowflake shape.
- Help your snowflake hold its shape by using your stapler to secure each segment to the ones next to it. As you staple your final segments to one another, lay your string between the segments and staple. You may want to tie a knot in the bottom of your string to ensure it gets caught under your staple when you hang the snowflake.

- Hang and show off your winter wonderland. Tag @cornellalumni on Instagram.
This craft and these instructions were inspired by instructions found on Hey, Let’s Make Stuff.